New star for an old pen: Part 2
I have tried for years to figure out a way of replacing missing stars in the caps of vintage Montblanc pens. Doing so is especially necessary when the missing star results in a hole all the way through the cap, which would make the pen unusable, since the ink in the nib dries out as a result. My attempts were based on filling the hole with home-made casein using a process that I’ve documented here.
The most important thing I learned through that process was that casein shrinks when it dries / cures, which means that, even if you can make a white casein, and even if you can fill the hole in the cap with it, once it hardens, the star will fall out. Every time…
So, I gave up trying to use casein and started working on a different technique entirely, which I’ll describe here.
Before you read any farther, if you’re a purist who thinks that vintage things should only be repaired / restored with other vintage replacement parts, then stop reading now. OR, continue reading, but don’t send me hate mail because of what I’m doing. I don’t sell my pens. I’m not deceiving anyone into thinking that this is original material. These are my pens, and I like using them – but I can’t do that if I don’t seal up that hole somehow…
If you’re still reading, then here goes…
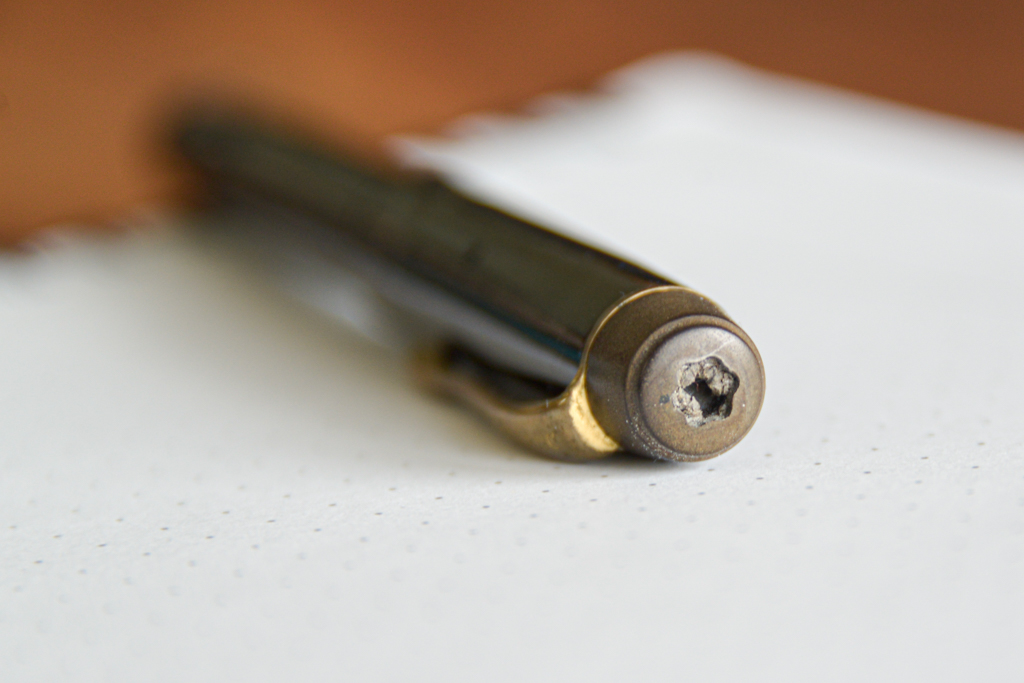
The photo above shows a typical case of a vintage Montblanc pen with an ebonite finial that has a missing star. In this particular case, the hole doesn’t go all the way into the cap, but, if I’m going to fill this, this just means that there’s one extra step along the way…
To start, I take the finial out and put it in a collet to simultaneously hold and protect it as I work on it.
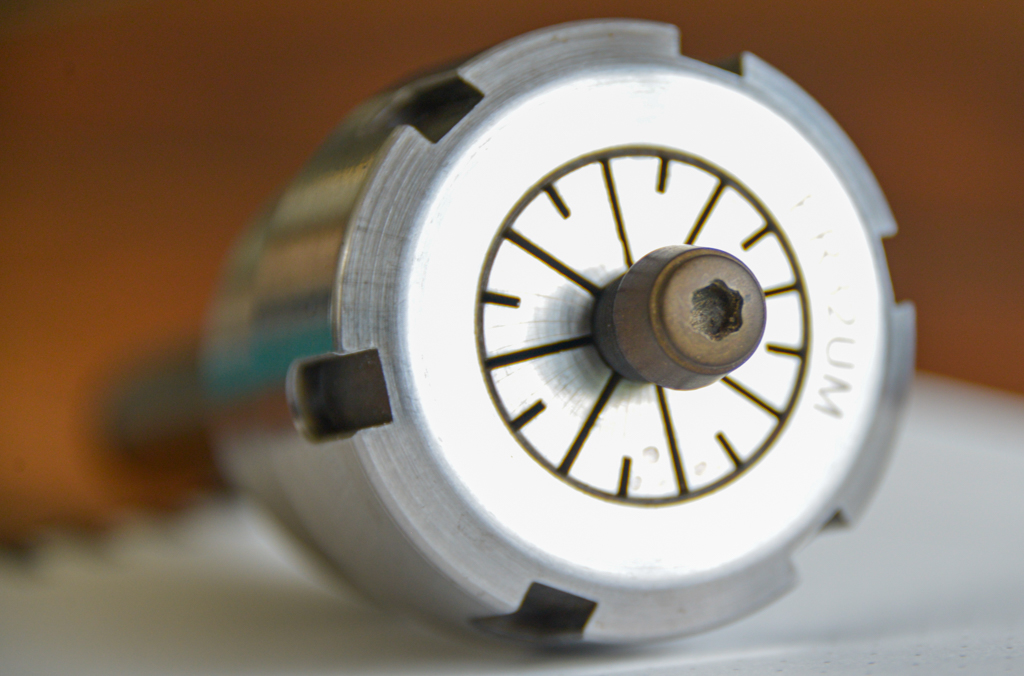
Notice that I’ve used a pick and a needle file to remove some of the internal material. This has to be done carefully to avoid scratching the exterior of the finial.
The star will be filled with white PLA filament that I normally use in my 3D printer. However, I’m not 3D printing a replacement. I start by cutting up the filament into small bits and putting it in a small stainless steel container that I bought in the kitchen supplies area of a local flea market.
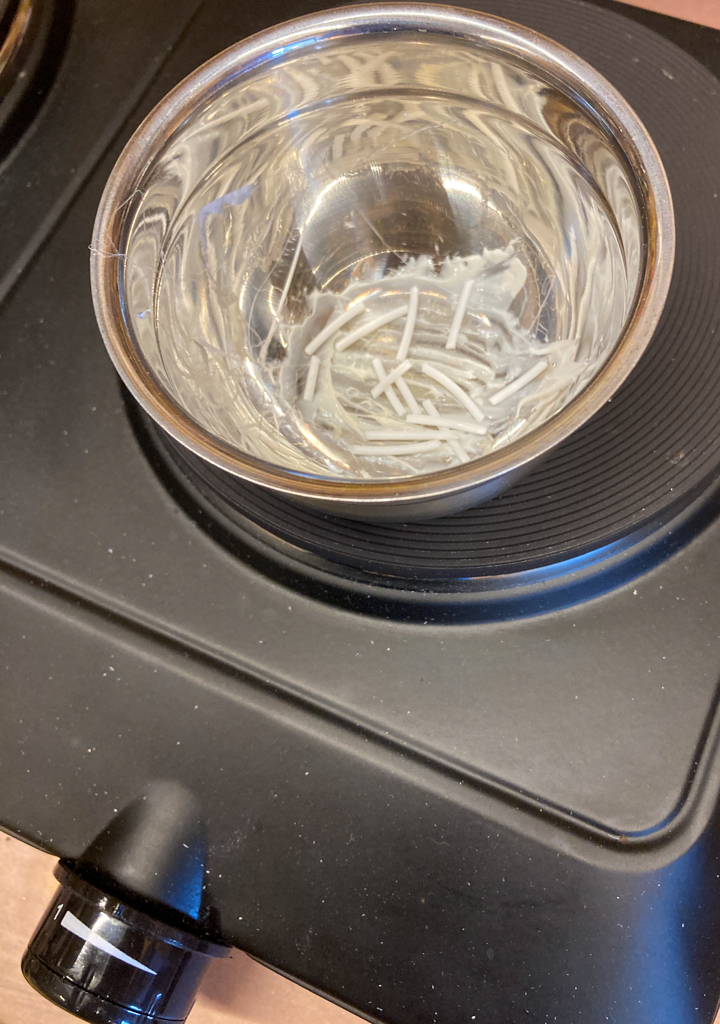
I then use the cook-plate at its lowest setting to SLOWLY bring the temperature of the PLA up to the melting point. I’m stirring and poking the plastic constantly, to make sure that it’s not sitting in one place and starting to burn. I’m also doing this in a well-ventilated area: safety first!
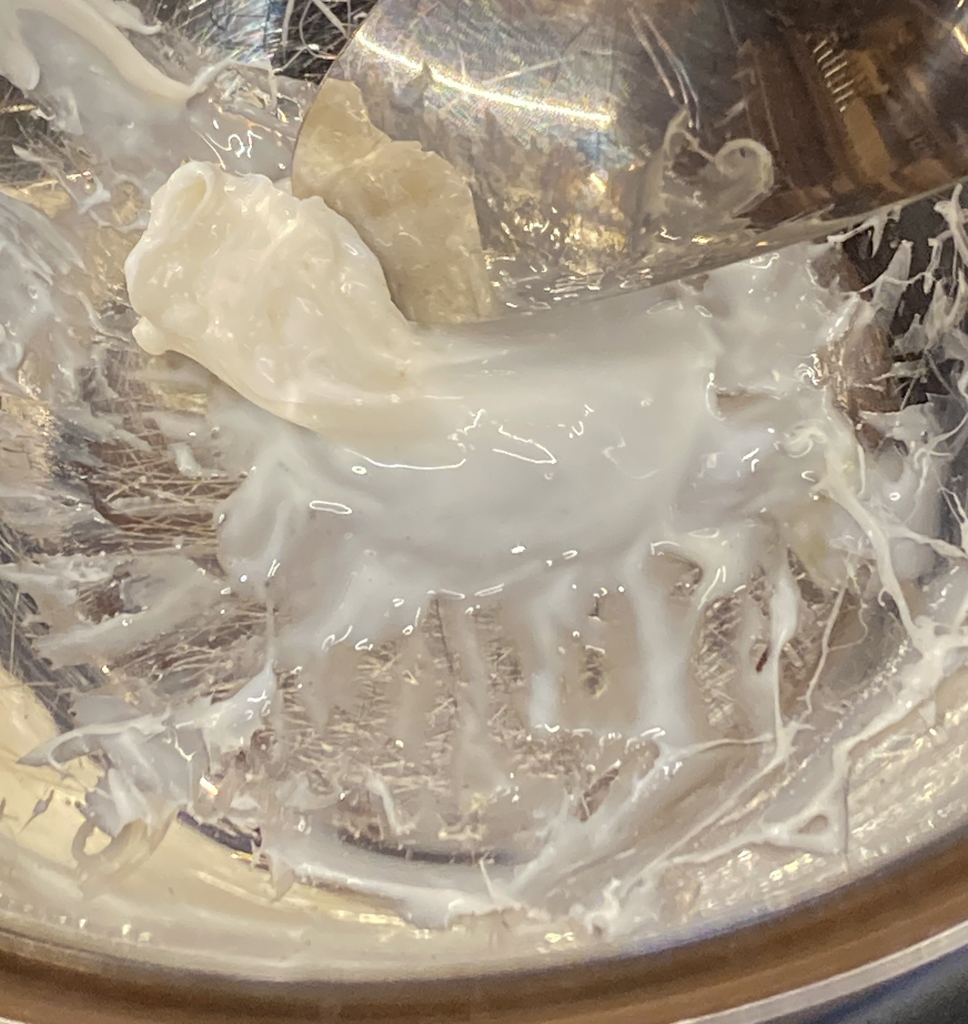
The photo above is what it looks like when I’m getting close. The big lump at the top of the photo still has to turn into a consistency like runny icing.
When the PLA is still goopy, but runny enough, I use a butter knife to push it into the hole in the finial. When this is done, it looks like this:
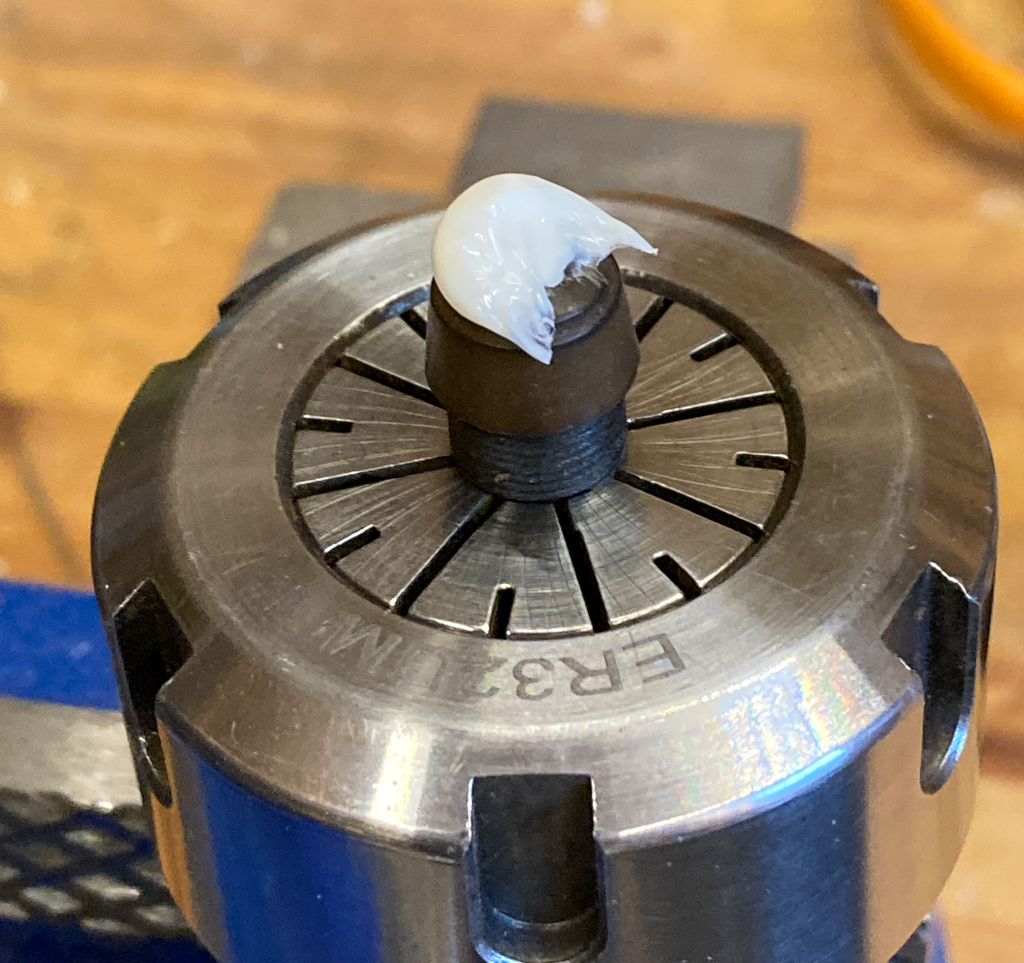
Now, I wait… It takes longer than you would think until the centre of that blob has hardened enough for the next step. An hour is plenty of time – but I normally wait longer. I’m not in a rush – there are other things to do.
Then it goes on the lathe.
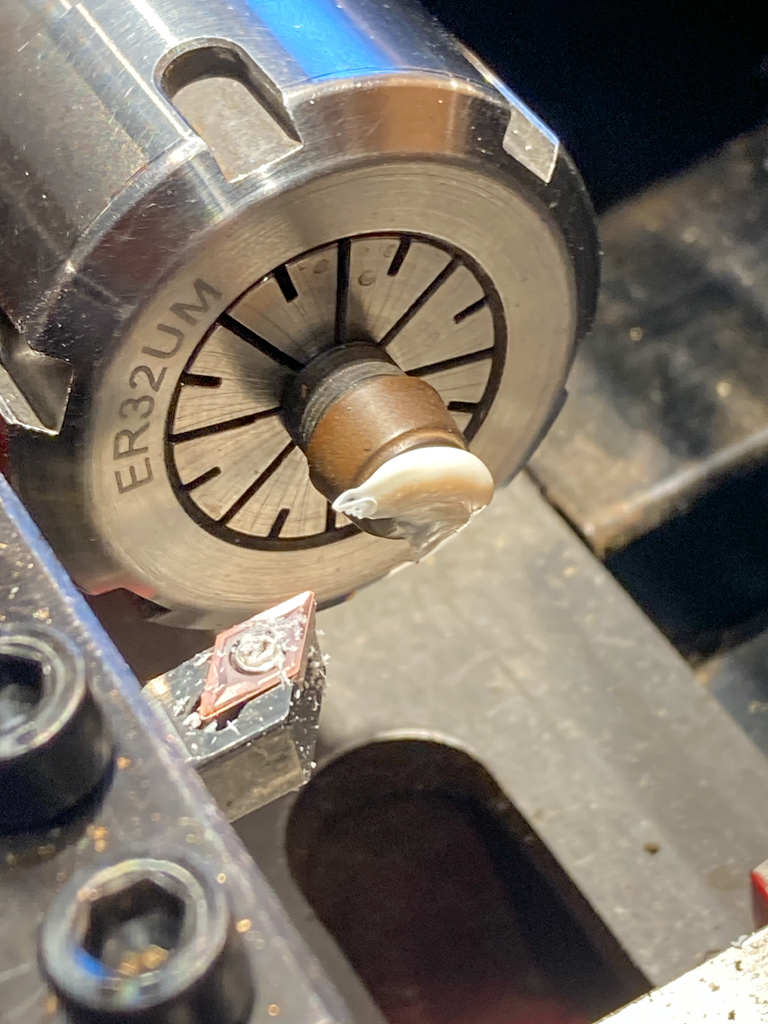
I start by cutting off the bulk of the excess, turning it on the lathe. This gets me to something looking like the photo below.
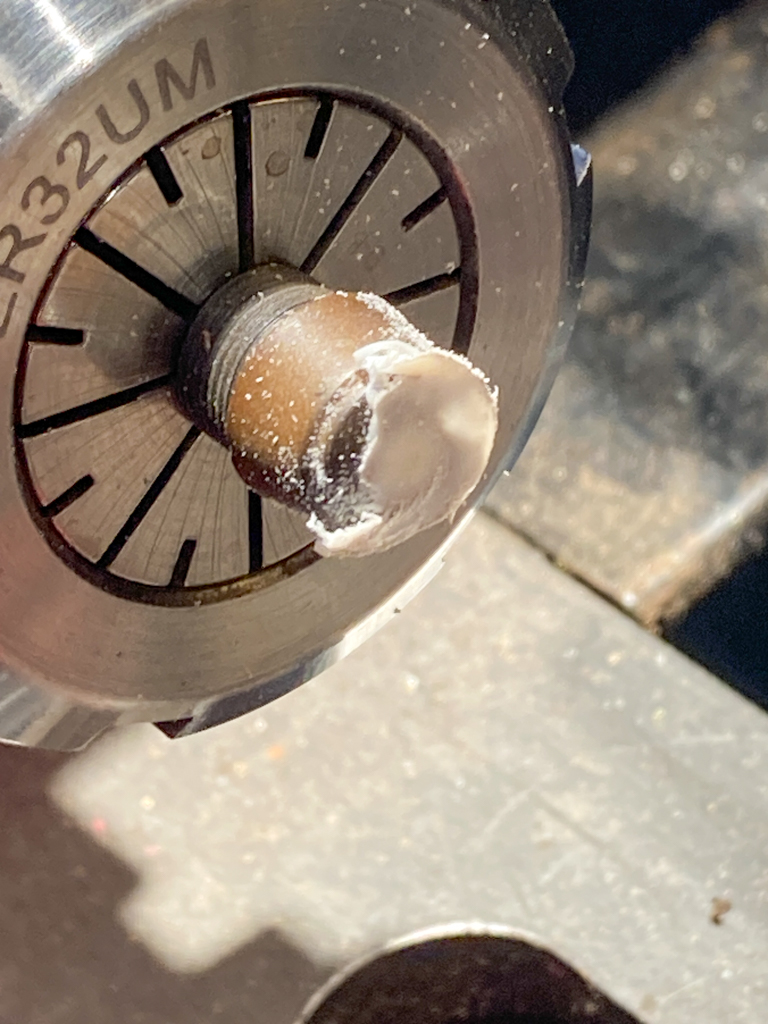
From there, I start filing, rotating the collet by hand, being careful to ONLY file away PLA. When that’s done, it looks like the two photos below.
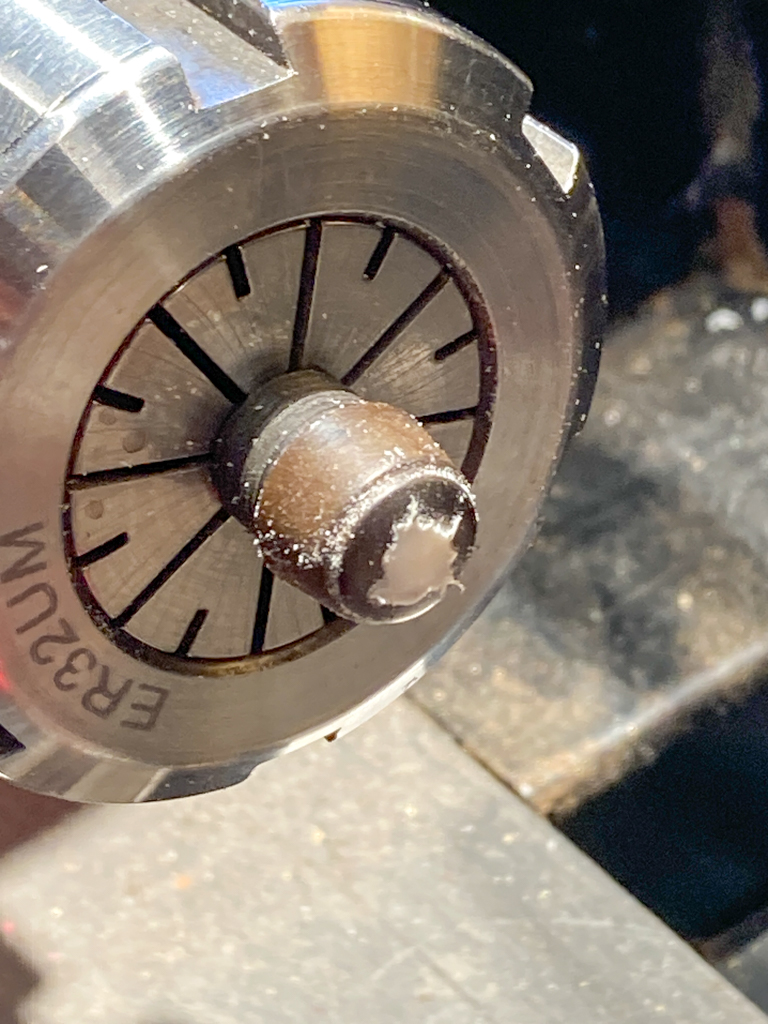
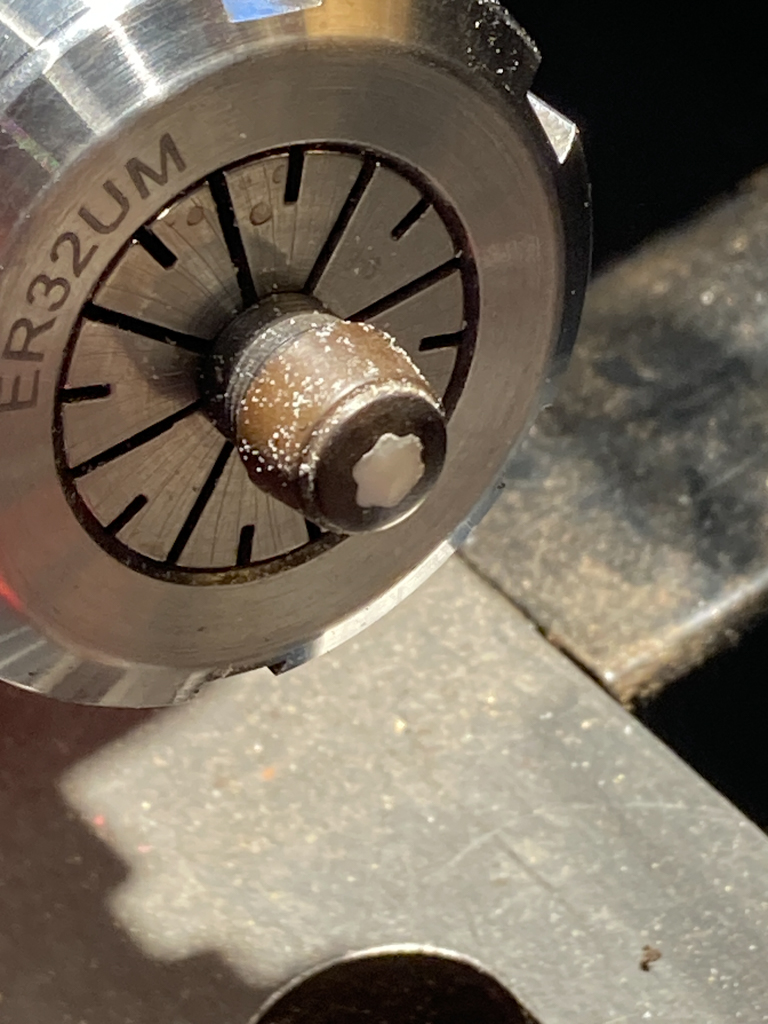
The next step is wet sanding with micromesh pads, starting at about 3500 grit and slowly working up to 12,000 grit. It’s important here to not round the corners in the finial, so you have to be careful not to apply too much pressure at any time, and to be careful where the pressure is applied. When the sanding is done, it looks something like the photo below. (The lines on the side of the finial are just water.)
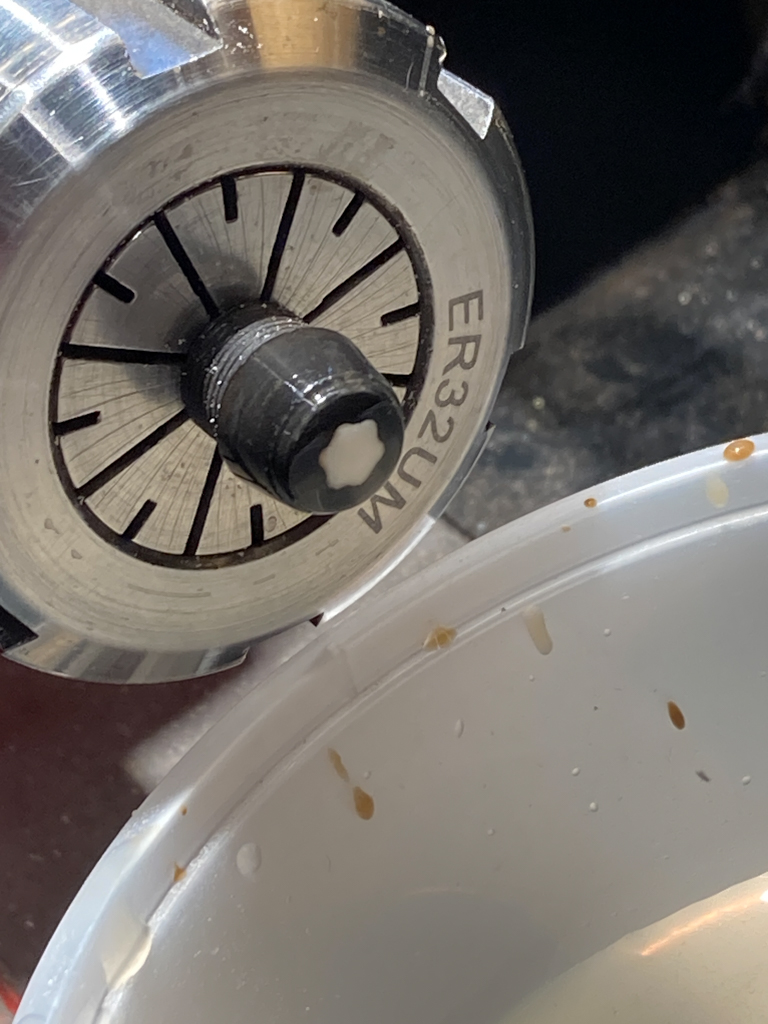
That’s it! When the finial goes back in the pen it looks like this:
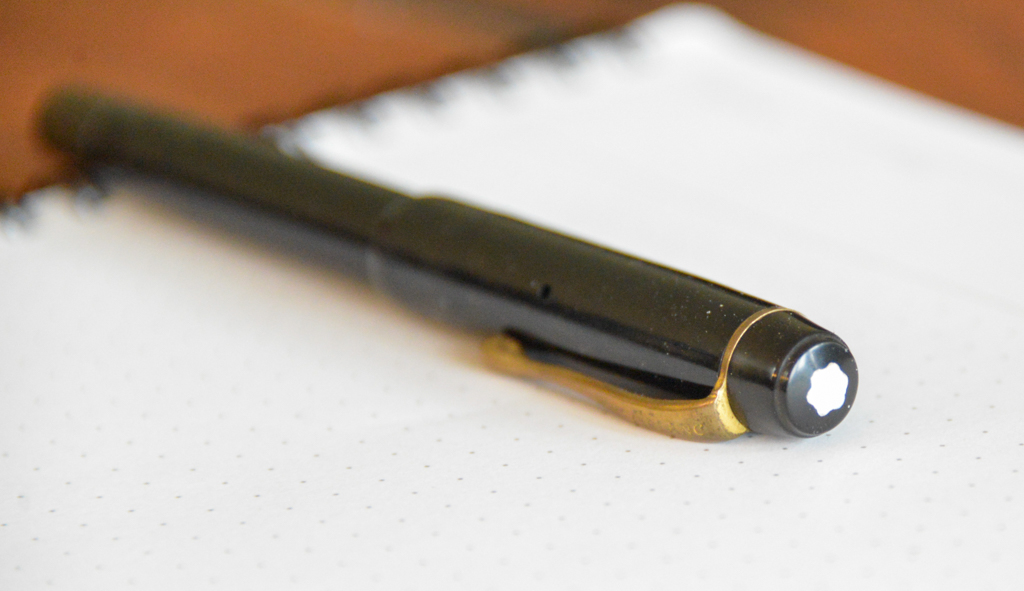
Two extra, but important things to note:
As I said above, the hole in this finial didn’t go all the way through to the inside of the cap. As a result, it was necessary to drill a small 1 mm diameter hole through to the inside to release the air as the PLA is being pushed in. If you don’t do this, you just get a bubble of plastic that will fall out again.
The PLA will push through to the inside of the cap, so be careful that you still have room for the nib when you’re done. If not, then you have to drill away some of the PLA from the inside of the finial to get the space back.
In cases where an air vent is not needed, I make absolutely no changes to the original finial. So, if, in the future I want to remove the PLA, it won’t been too difficult, since the star is held in mechanically. I’m not welding the plastic onto the ebonite, and there’s no glue involved. This is why I don’t feel too guilty about using this method…
