Haro 1
The following excerpt is from fountainpen.it:
“Haro was founded in 1926 by Hans Roggenbuck (and derives its name from the initial letters of his name) in the district of Pomerania in Frömsdorf. Later the production was transferred to Frankenstein. The production was centered in the economic pens featuring mostly glass nib.”
I took a small chance buying this pen. It showed up in an online sale of a small collection of antique office items, most of which I had no interest in. Luckily, the seller was willing to break up the sale and so, he sold me this (along with a Penol paper clip). I had no idea what I was buying, to be honest. All I knew from the photos was that it was an old hard rubber pen that hopefully has a nib under the cap.
When it arrived, I dismantled it, and it looked like the photo above.
The biggest surprise was the glass nib, which was not an unusual thing about 100 years ago, when metal was scarce. The second-biggest surprise was that the paint that was visible on the outside of the pen in the photos, was also all over the nib (my guess is that someone used it as a dip pen with paint instead of ink). The third surprise was the crack in the cap, which is partially visible in the photo, but makes a turn and continues around the cap about 120º or so.
Τhe first step was to stabilise the crack with thin CA glue. which worked well.
After a couple of rounds in the ultrasonic cleaner, it looked like this:
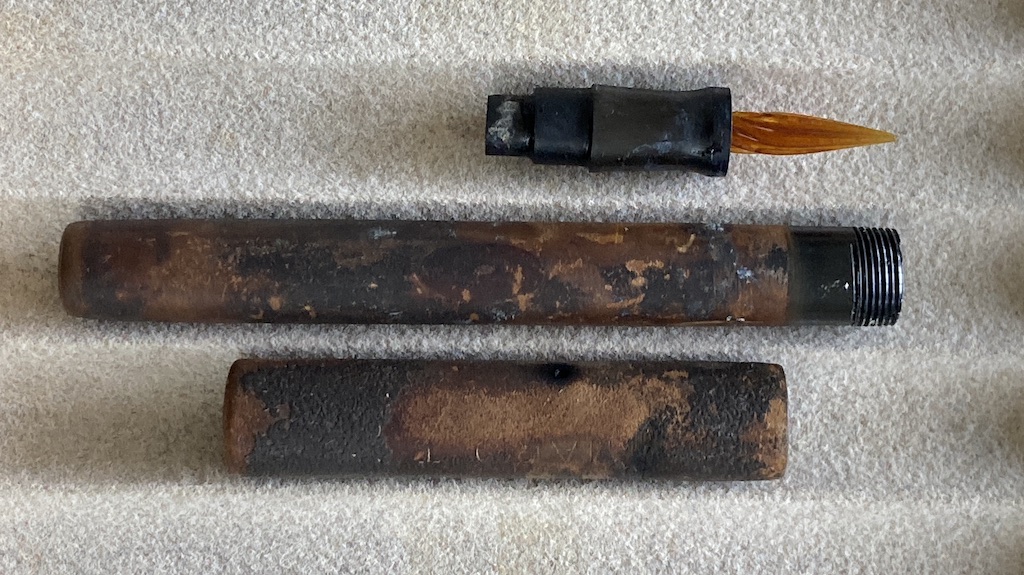
Not surprisingly, the bath had some effect on the hard rubber, which I expected. This is quite normal for old ebonite. A new surprise! Notice that an imprint appeared after this step.
Next came a first round of gentle wet sanding (more like polishing) using 4000- to 12000-grit micromesh pads with the various parts mounted on a hardwood mandrel on a lathe. After this, the discolouration of the ebonite was still there, but it was starting to look like something, and the imprint finally revealed that it is a Haro 1.
The original Haro 1 was a safety pen, but they changed to lever and button fillers
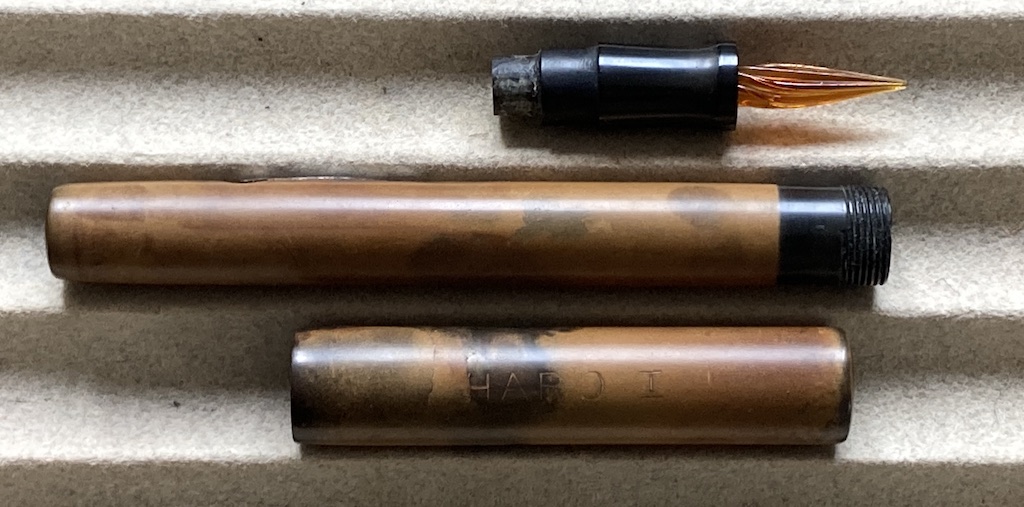
Following this, I spent another hour or so, gently taking off some of the top layer of the hard rubber to bring it back closer to the original colour. This was done with very light pressure, wet sanding with the same micromesh pads, starting at 4000 again and working my way back up. The clip also got a polish inside and out to take the rust off.
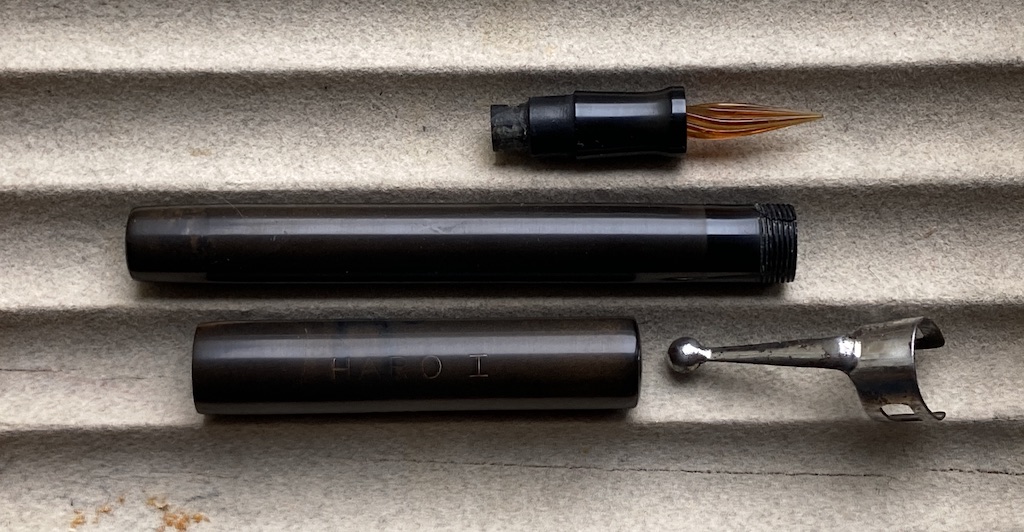
The next step was to stabilise that crack in the top of the barrel through the threads (visible in the photo above). My gut feeling was that glue or epoxy wouldn’t withstand the tension trying to pull the crack apart, so I tightly wrapped the barrel around the threads using dental floss to close up the gap, then submerged the end of the barrel in nearly-boiling water for about 30 seconds to soften the rubber and close the crack. Following this, the barrel looks like this:
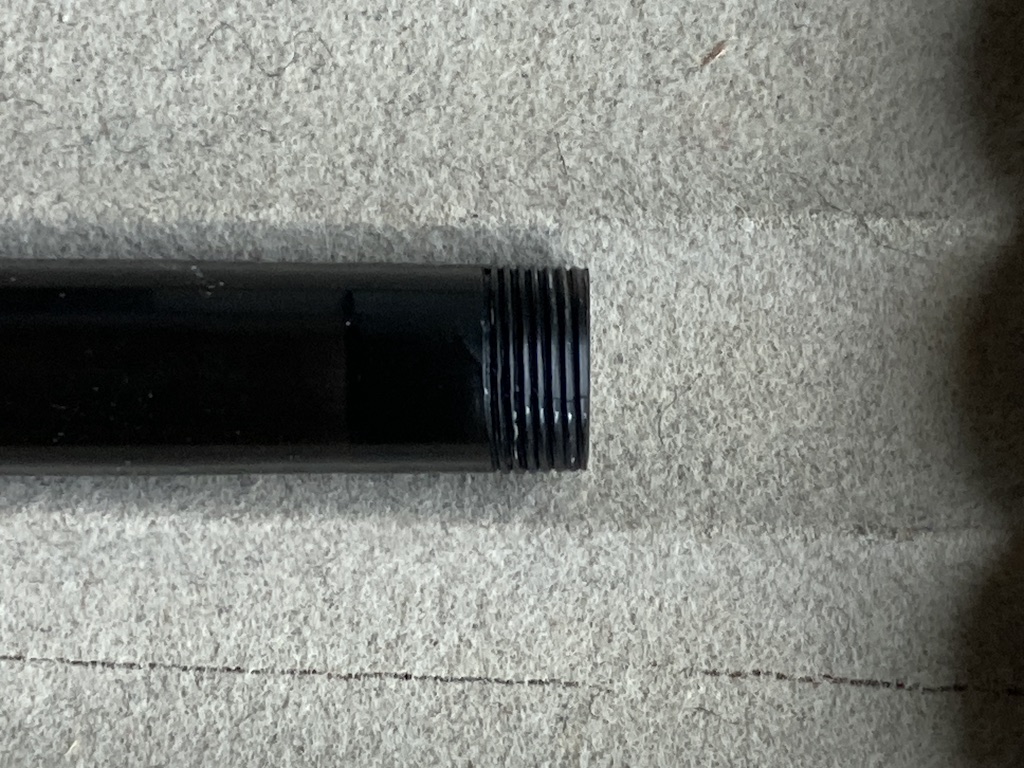
After this, some thin CA glue was used to wick into the crack and hold it without having to fight the tension. Afterwards, I had to ream about 0.15 mm off the inside of the barrel to make sure that the section wouldn’t cause it to break open again. (Alternatively, I could have put the section on the lathe and brought down the diameter a little, but I hate taking glass nibs out of sections – and I hate working on sections on a lathe when the nibs is still in there… Reaming the inside of the barrel was the safer course of action in this case. It also meant that I cleaned off any excess CA glue.)
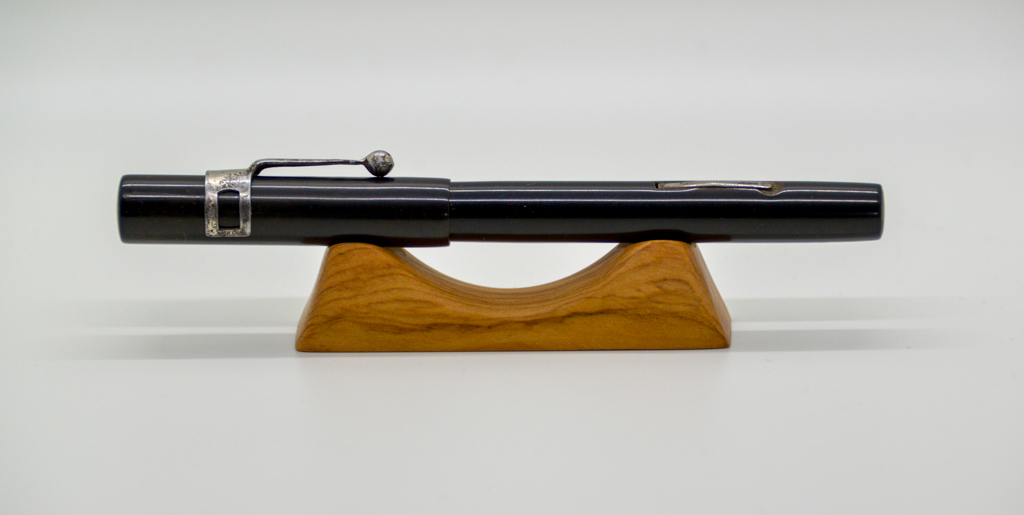
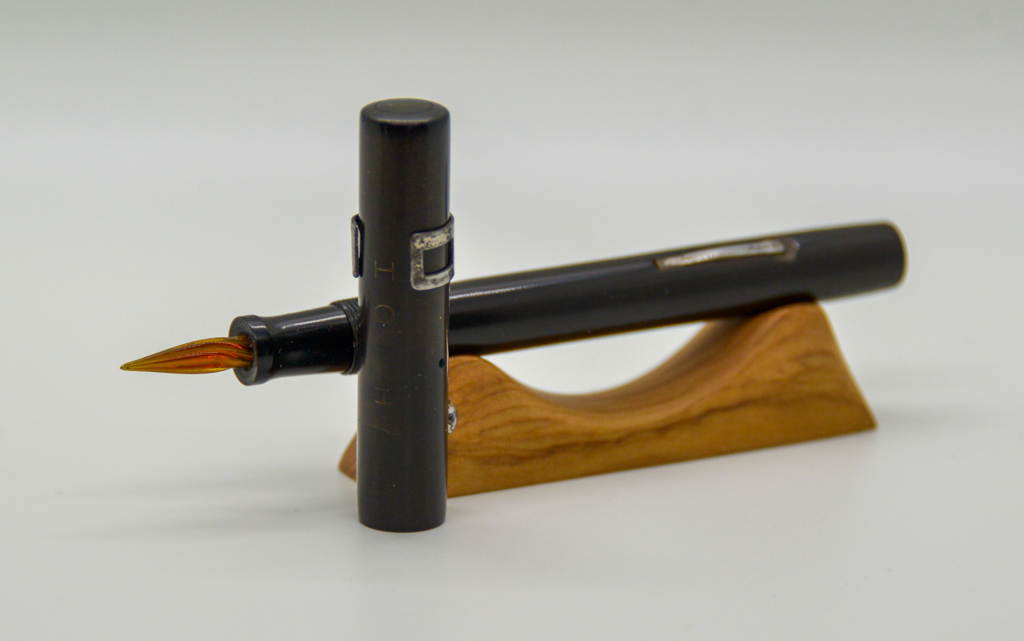
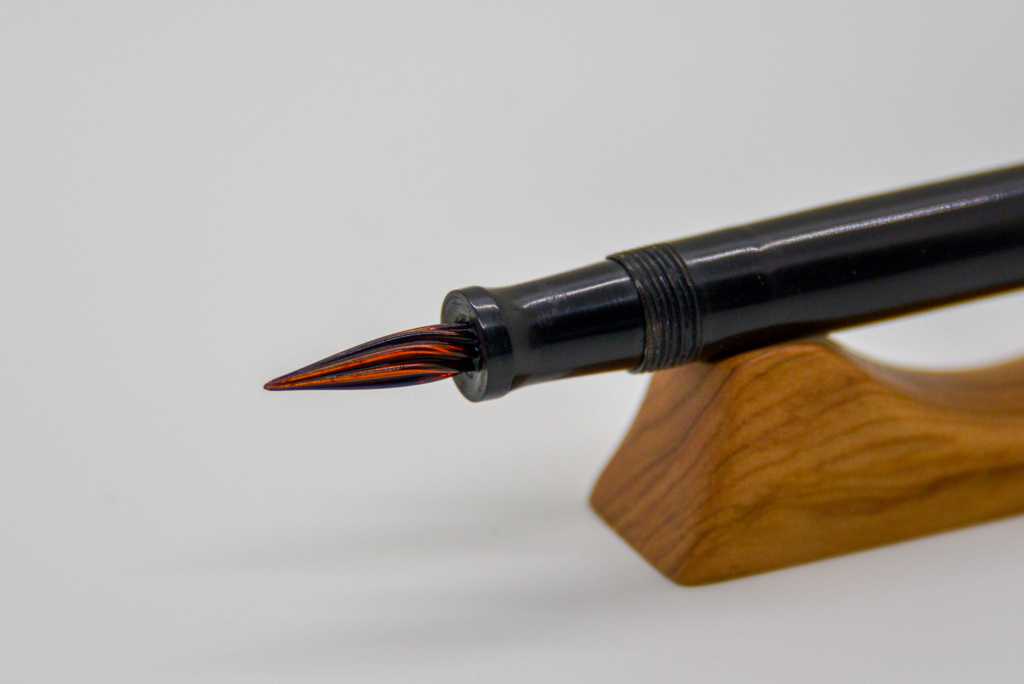
I also have a Haro II in the collection, which can be seen here.
